
Chassis – arm – electronic integration (II)
If you have seen this post without having read the previous one (https://www.thematic-learning.com/chassis-arm-electronic-integration-i/) it may be difficult to understand all the information posted.
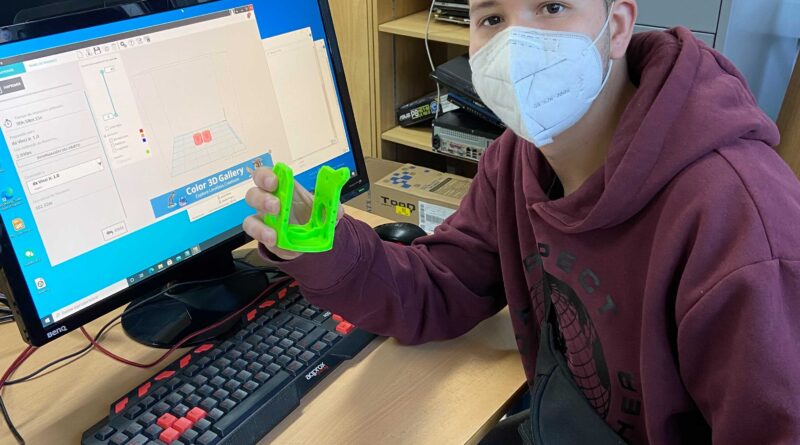
Once it has been decided to use the Florin Tobler design as a base, the next step is to print all the parts of the robotic arm and make it work to see the possibilities of adaptation to our chassis and our needs.

At the same time that we were working on the printing of the rover parts, we had to think about the electronic devices that we were going to use for the implementation of the project. The objective is to be able to control the arm and the rover online. The advantages and disadvantages of using devices like Raspberry Pi, Arduino, NodeMCU, etc. were discussed a lot.
Below are two options with different component settings:
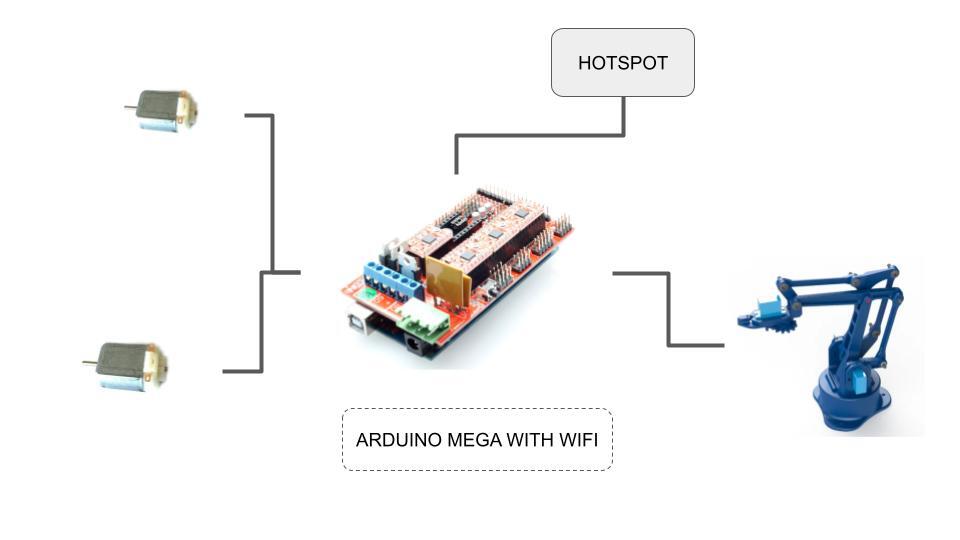
In this first option, an Arduino with a WI-FI antenna is used together to control the arm, the motors and connect to the Internet through a hotspot that will travel in the same rover. The advantage of this option is that only one device is used, which simplifies the electronics.
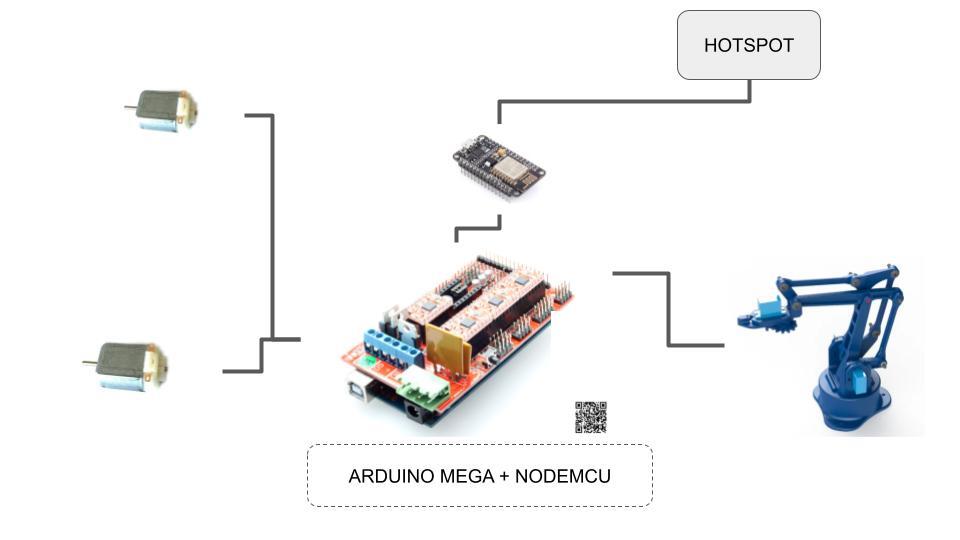
In this second option an Arduino is used to program the motors and arm. In addition, a nodeMCU is used to send and receive information, which will be connected via serial with the arduino. Using multiple devices has the advantage of decentralizing the functionality of the system, but we we are concerned about the slowdown of the system since serial communications can be slow in some cases.
A third option is to use only one nodeMCU to control both the motors, the arm and communicate with the external server to receive commands. This option reduces costs and simplifies the project but complicates the programming. Furthermore, since nodeMCU is a limited device, we are concerned about whether it will be able to perform all the functions we want.
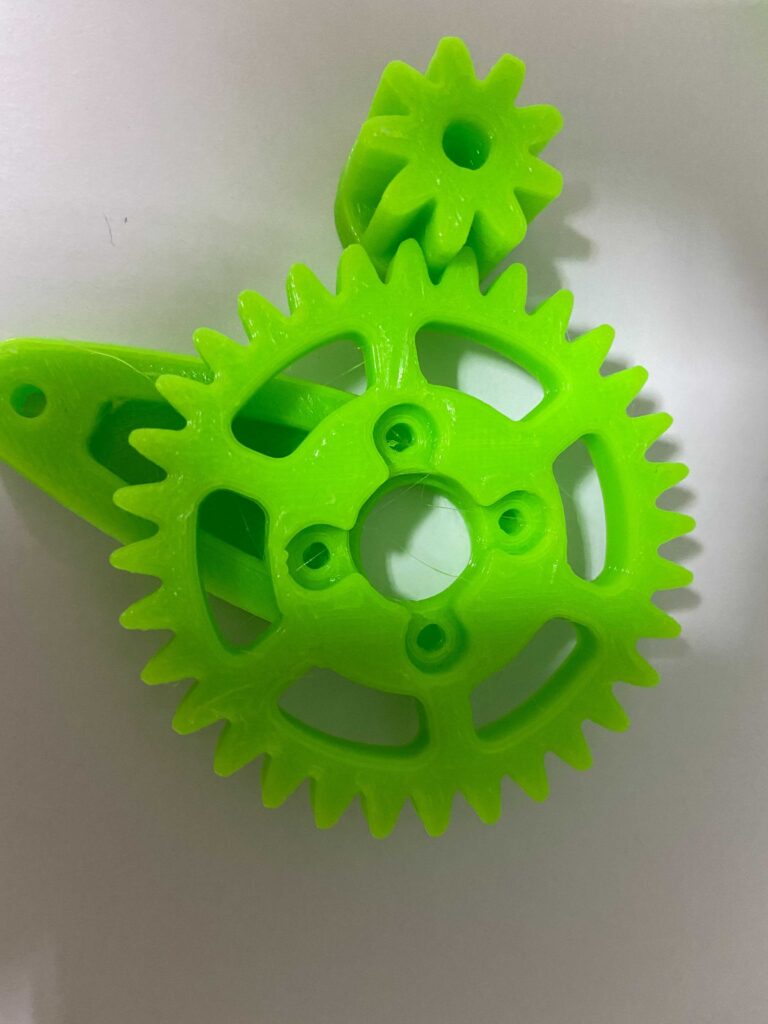
For the printing of the arm parts, PLA has been chosen for its ease of printing. PLA is not as strong as ABS but it has less shrinkage and if it is printed solid enough the parts can be used reliably enough.
Our students printed the arm pieces with a 90% density which we believe is sufficient for the prototype to withstand the pressure and friction suffered.

Each student will be in charge of printing a group of pieces and verifying that they meet the quality and expected result.
For the assembly of the arm we have both the documentation and explanatory videos which will be essential for the assembly: