
-
1 Introduction
-
2 Theoretical concepts
-
3 The printing process
-
4 Arm assembly and electronics
Some ideas before taking this course
Product: Creation of a robotic arm using a 3D printer and arduino
- Country: Spain
- Class: 1º SMR
- Teacher: Juan Carlos Moreno (Assembly and maintenance of equipment).
- Teacher: Miguel Angel Santos (Assembly and maintenance of equipment).
- Teacher: Pedro Ruiz (Single user operating systems).
In this unit, the main goal is to combine the following concepts:
- TO KNOW. Know the theoretical concepts of the activity to be carried out. To be a good professional, the student must learn all possible theoretical knowledge to be able to carry out their work in the world of work.
- KNOW TO DO/KNOW HOW. Know how to apply theoretical knowledge and deal effectively and efficiently with the devices and technology used. When the student combines knowledge and know-how, the result of their work will be of a high level.
- KNOW TO BE. Attitude towards the project. Work collaboratively with colleagues and support each other. Collaborate with students from other countries. In many jobs, motivation, availability, the desire to do a good job are highly appreciated even more than knowledge.
In any profession, a professional makes use of these three ingredients in their daily work. Depending on the job, more of one will be needed than the other, but what is undeniable is that when it comes to training we must keep it in mind.
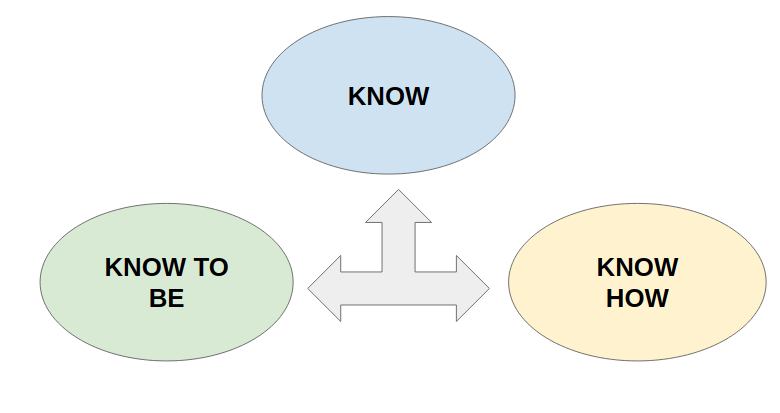
Figure 1.1. A good professional is a combination of know, know how and know to be.
In each of the lessons the different knowledge will be labeled so that the teacher takes this into account when teaching it.
Methodology followed in this unit
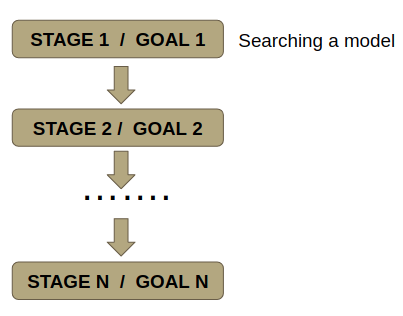
Figure 1.2. Define the objectives.
The teacher will be responsible for defining the objectives and preparing the corresponding lessons to achieve these objectives. Each stage or lesson will have specific objectives and some of them could be evaluated in a formal way, others in an observational way.
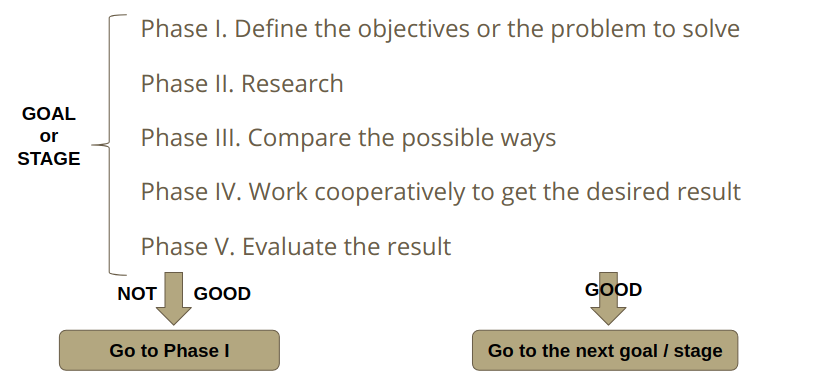
Figure 1.3. Way of working the stages.
Each of these stages will be worked in an evolutionary way and divided into phases in such a way that if it is observed that the result obtained is not satisfactory, it can be repeated but this time with more knowledge on the subject in such a way that the result be as expected.
In our case, the first phase of each stage begins with a brainstorming in which the objectives or the problem to be solved are going to be defined. In some cases, an investigation or search for information must be carried out because generally in a new or complex field there must always be a theoretical or theoretical-practical support.
In a collaborative way, different solutions, programs, ways of doing things will be proposed and they will be compared to establish which is the best approach. Once the plan to follow is clear, we will work collaboratively to obtain the result we want.
The last phase of each stage will always be to evaluate the result. It must always be kept in mind that the process is always the most important because it is the place and time in which knowledge is acquired and fixed.
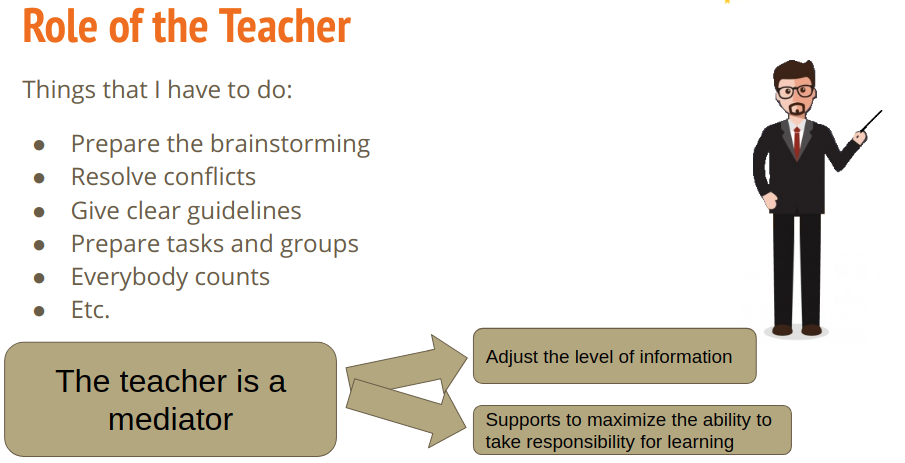
Figura 1.4. Rol of the teacher
In our opinion, the teacher when working on projects of this type should adopt a mediating role. Mediator or organizer of the work, leaving the student clear work guidelines. He will be responsible for creating the working groups and assigning responsibilities to each of the members.
Conflicts always arise in this type of project but the teacher will be in charge of solving them taking into account that all students are the main characters “everybody counts”. As in a company, all students are essential and have their responsibility and leadership.
It is important to focus the investigation and objectives. The teacher will adjust the level of information to the student but he won’t solve the problems. In this way, the student can be made responsible for his/her own learning.
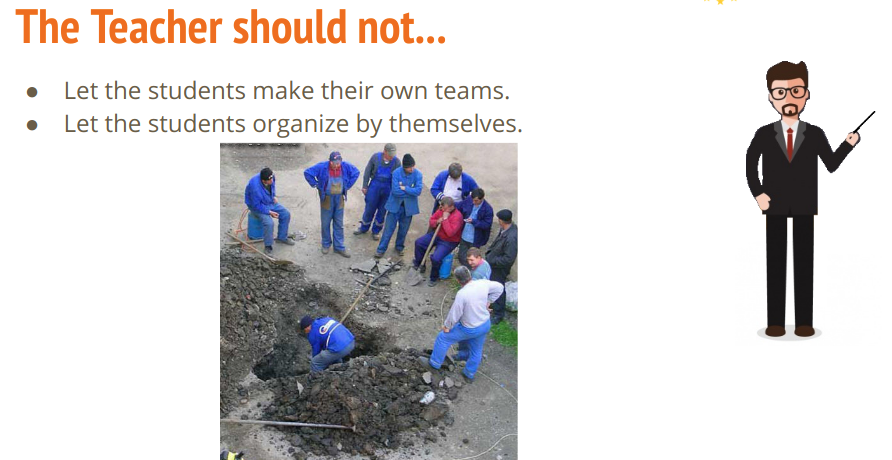
Figure 1.5. Some common fails in collaborative work.
Based on experience, we can say that the teacher should not let the students organize themselves or make their own teams. Collaboration yes, but with well-organized work and clear responsibilities.
Tools and things needed
Filament. Remember that you are going to use a little less than half a kilo of filament. Later we will explain the different filaments that you can use. Use PLA or PETG (better PETG than PLA).
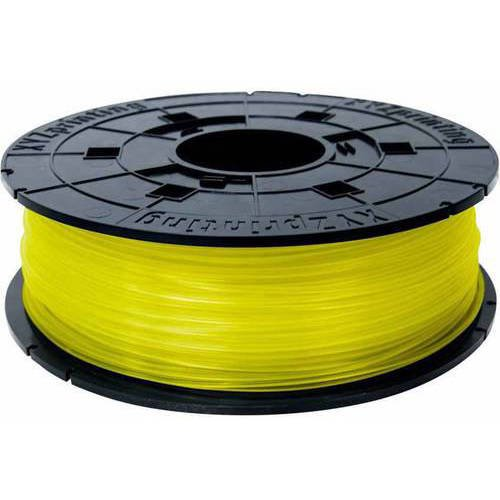
Figure 1.6. PLA filament.
A 3D model. We have used the model of Florin Tobler (https://www.thingiverse.com/thing:1718984) that is licensed under CC-Attribution-Non-Commercial in the thingiverse repository.
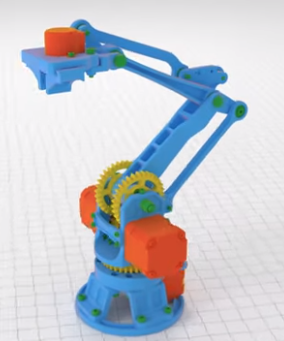
Figure 1.7. 3D model by Florin Tobler
3D Printer. There are thousands of printers on the market but we recommend a REP-RAP printer (https://reprap.org/wiki/RepRap). ¿Why?
- Because they are low-cost printers.
- If a plastic component spoils you, you can print it and replace it.
- The other non-plastic components can be easily found on the Internet if they are damaged.
- You contribute to more open-source printers.
- The price-quality ratio is excellent.
- There are many people who use these printers. If you have a problem they can help you.
- You can have a fun and instructive time with your students by setting up the printer.
Arduino Mega 2560. Here you have a description of this controller extracted from (arduino.cc) “The Arduino MEGA 2560 is designed for projects that require more I/O lines, more sketch memory and more RAM. With 54 digital I/O pins, 16 analog inputs and a larger space for your sketch it is the recommended board for 3D printers and robotics projects. This gives your projects plenty of room and opportunities maintaining the simplicity and effectiveness of the Arduino platform. This document explains how to connect your Mega2560 board to the computer and upload your first sketch.”
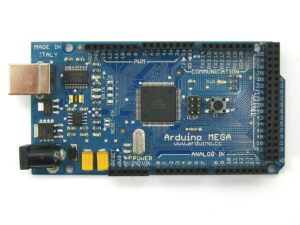
Figure 1.8. Arduino Mega 2560. Source: wikimedia commons (by Tullius).
RAMPS 1.4. RAMPS is RepRap Arduino Mega Pololu Shield, a shield (a board that is connected on your arduino). RepRap printers use this shield because it is a low cost device to control all the NEMA step motors of a 3D printer. The RAMPS not only controls the stepper motors but also controls the hot bed and hot-end thermistors as well as the x, y and z axis limit switches. You will have to fit in the RAMPS the Pololu A4988 drivers. A driver will be needed for each axis of the printer or in this case the mechanical arm.
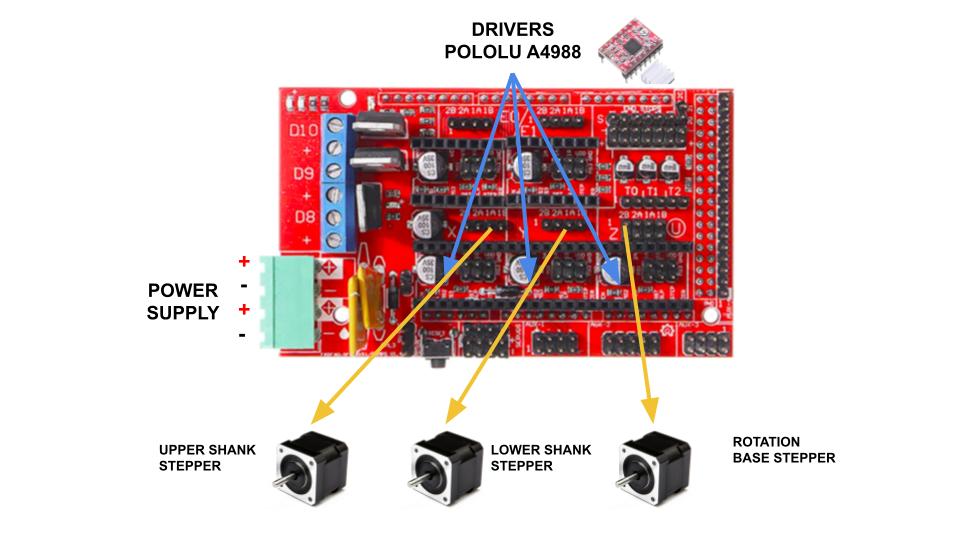
Figure 1.9. RAMPS 1.4 and wiring diagram.
Nema 17 Stepper motor. The NEMA 17 motor is a stepper motor so named because it is 1.7×1.7 inches wide and tall. These types of motors are very precise. In our case, we use this type of motor for its reliability, precision and because they are very powerful. The weak point of these motors is the speed but that is what worries us the least since we need our arm not to be fast, we prefer it slow.
Bearings (flanged, normal and thrust bearings). We will need these types of parts for all moving parts.
M3 and M4 screws and nuts, M5 threaded rod & nuts, wires, cable ties, etc.
Computer. It doesn’t matter what operating system you are using.
Arduino IDE. You will need this program to write the code in the Arduino Mega. You can also modify the code if you think it is necessary. If you don’t have much idea of how this program is installed you can follow the guide that you will find in(https://www.arduino.cc/en/Guide/ArduinoMega2560).